Last year when Christmas was over I bought some plain stockings that looked something like this one.
I decided that it was a little too plain, and I wanted to do something with it. I just couldn't figure out what.
So I came across this blog entry at Pleasant Home. The creator of this blog had taken a stocking and added some decoration to it so I decided to give it a try.
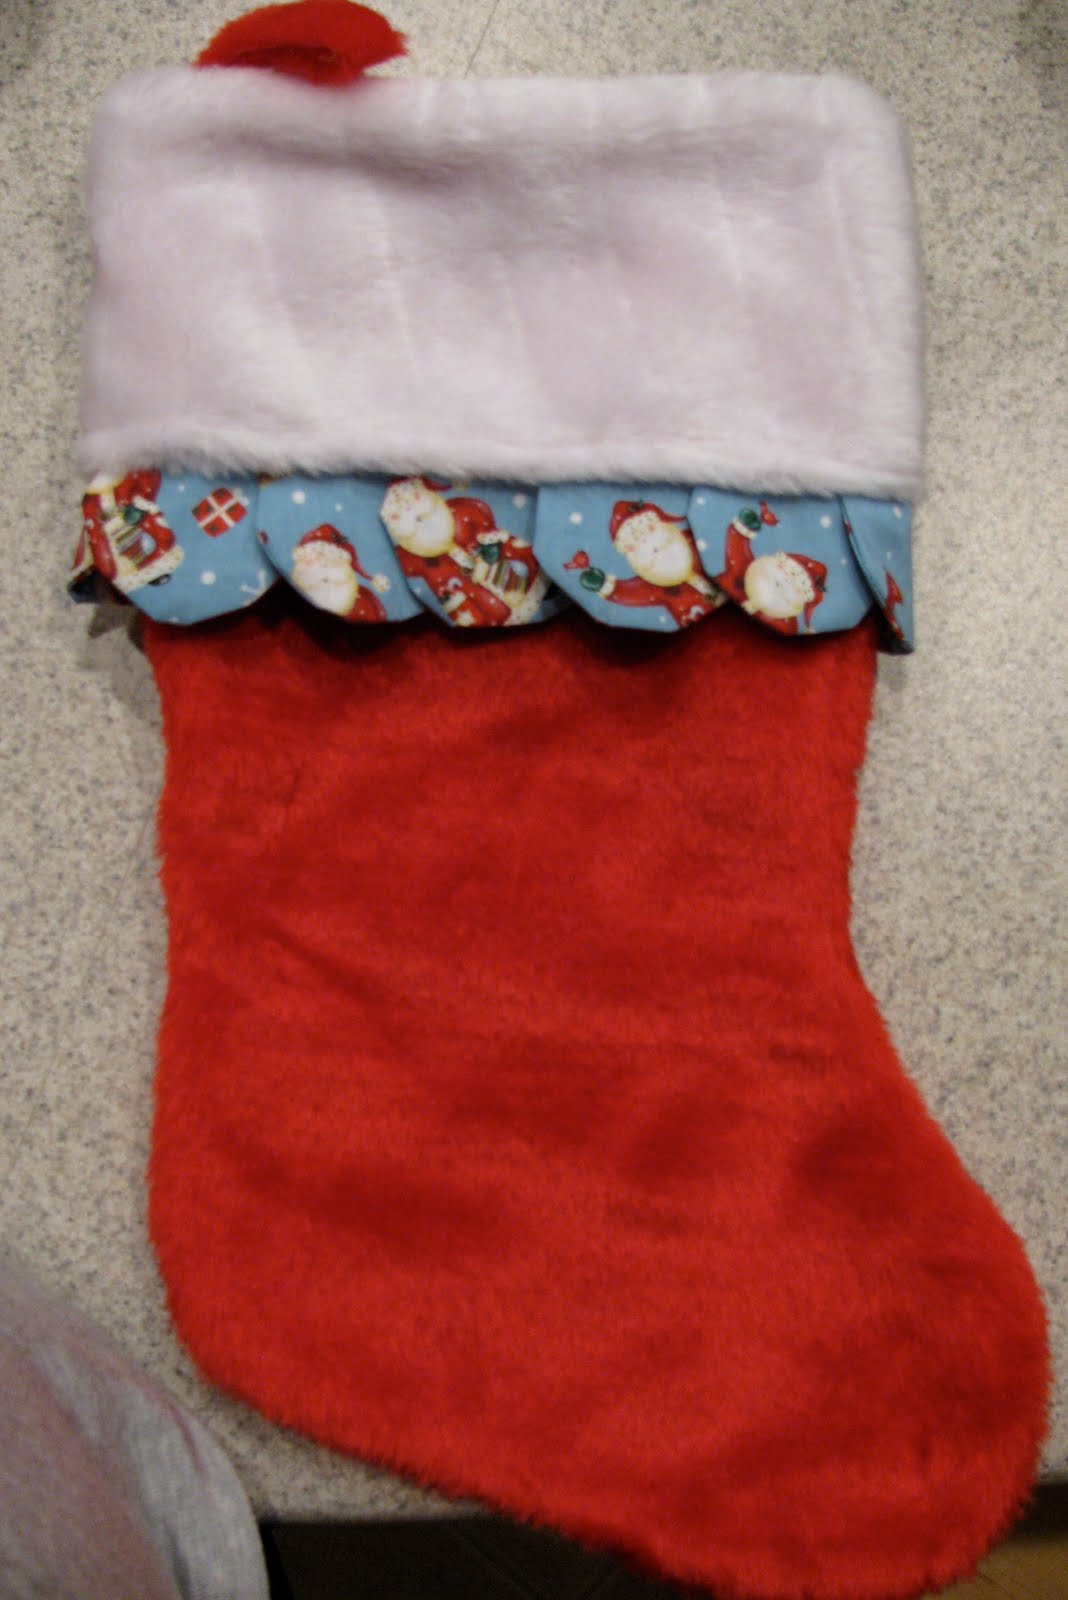
Here is my version.
Here is the version that I looked off of.

A simple store stocking.

Now looks like this.

I took a couple prints of Christmas material, and a glass.

I traced a little more than half of the circle of the glass, and then cut them out. I made about 11 of them to go all the way around the stocking, but probably should have made 12.
(I didn't really do any measuring, I just guessed about how many I would need.)

Taking right sides together I stitched around the outside of the circle, leaving the flat part open for turning.

After turning, I used the iron the flatten it out.

Then I started pinning them all together.
The part that I didn't get a picture of was actually sewing it to the stocking. I was so caught up in what I was doing that I forgot to take a picture. I pretty much just pulled the white part up so that I was seeing the back side of it, and stitched the two together. I was worried that I would see the stitch line, but it is hidden in the fur pretty well.

The final result.

And here are the five finished products. One for each of us. If you look closely you will see that there are three different patterns of material, and I added our names to one of the half circles on the left side so that we would be able to tell whose was whose.
They were fun to make and a lot easier than I thought it would be.

.JPG)
.JPG)
.JPG)